For the basics of appointments, check out the introduction. Here we'll go through a few more parts of the appointment window:
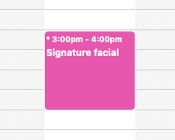
When a client books an appointment online, it will immediately appear in the calendar. The client may optionally leave a message when making an appointment. Whenever a client has left a message with the appointment, there will be an asterisk next to the appointment time. When you see this, you should open the appointment and read the message before the appointment is due. An example of how this may look in the calendar:
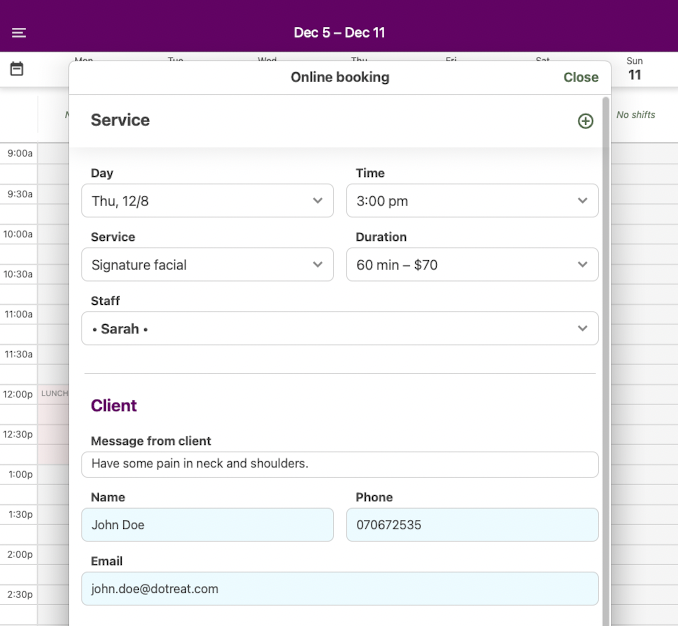
In this example, the client has requested that staff member Sarah perform the service, which can be seen as there are two dots surrounding the name. If the client does not request a specific staff member, the system automatically chooses the staff member with the least number of appointment hours on that day. In those cases, the client will not receive information about what staff member that will perform the service, meaning that you are free to change the staff member as you please.
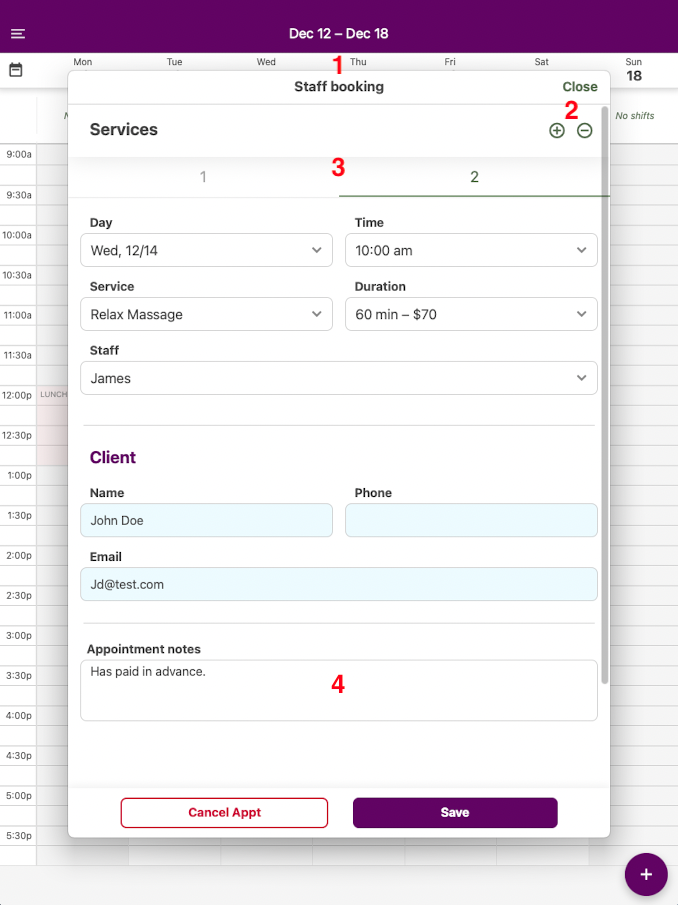
To set the requested staff member yourself from the appointment window, select the staff member and then tap and hold the staff member's name for 1 second. If you are using the web app with a mouse, this is done by right-clicking the name instead of tap-and-hold.